Subtotal
$0.00


Any will do, but Wyze also offers one for sale. Pick the size you want, the larger the card capacity the longer you can record, and click "Add to cart."


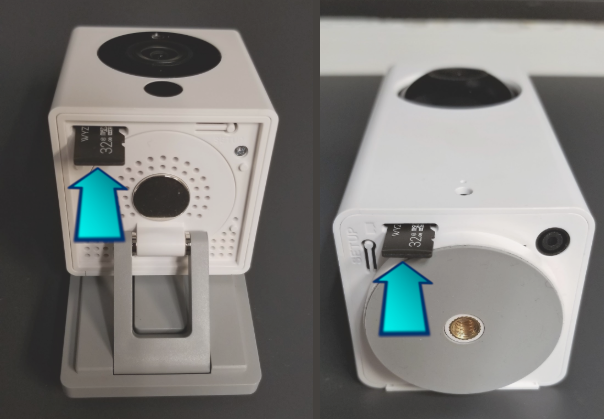
The slot is slightly different on each Wyze Cam. On Wyze Cam v3, it is located under a silicone flap on the bottom of the camera.
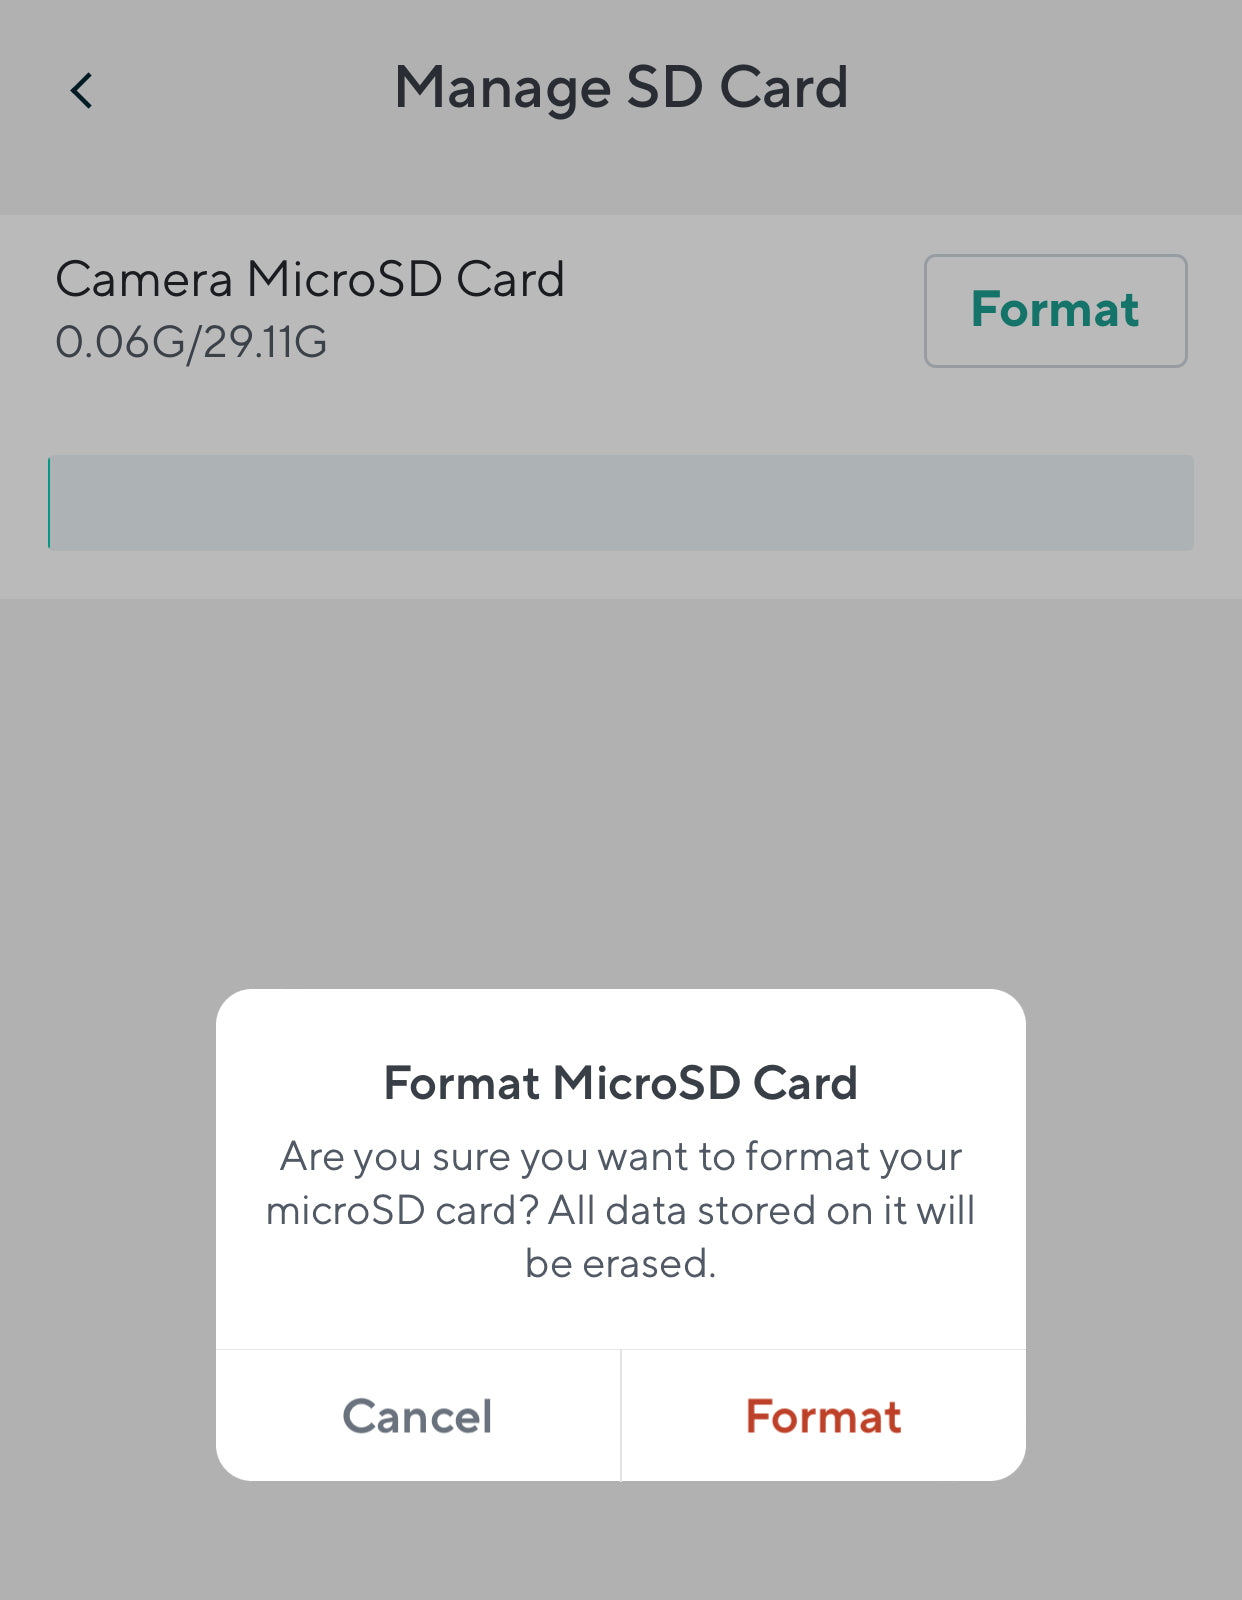
To do this, tap into your camera’s live stream from the Home tab and tap Settings > Advanced Settings > Manage MicroSD Card > Format.
Be aware that this will erase all of the existing content on the microSD card, so be sure to back up your files first.
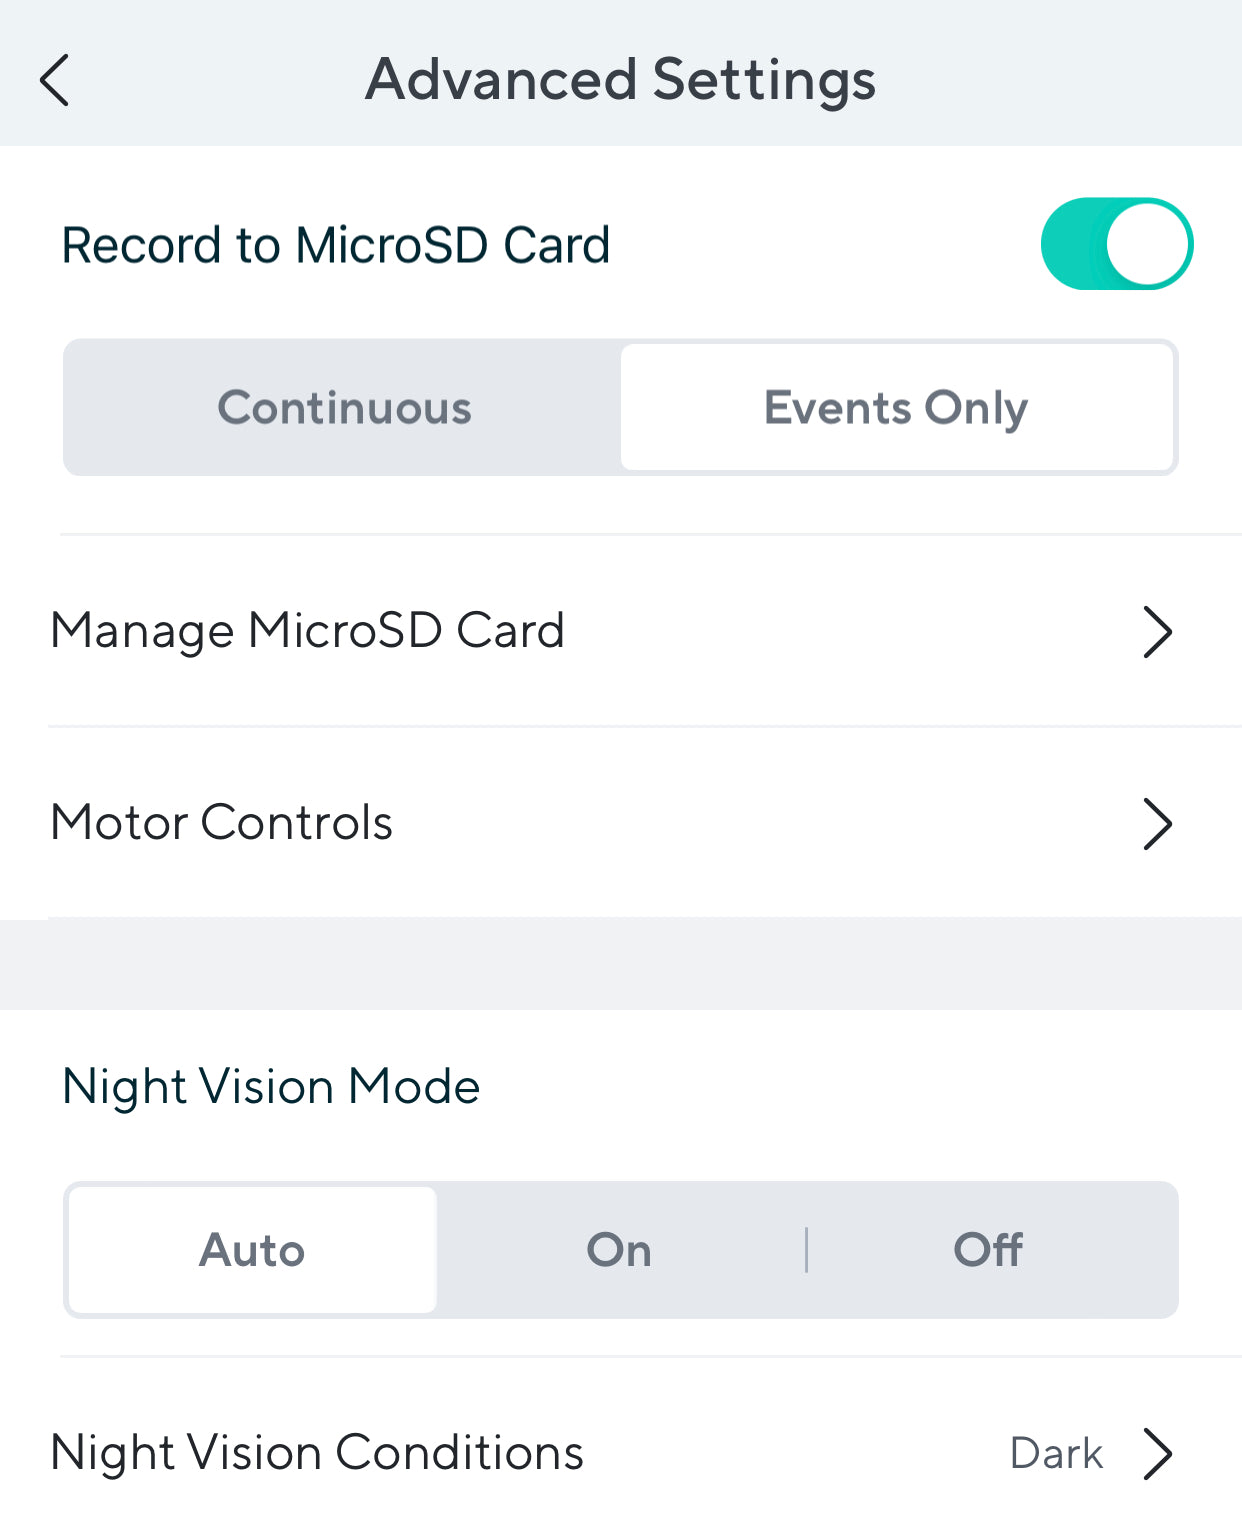
Tap into your camera’s live stream from the Home tab and tap Settings > Advanced Settings. Tap the toggle next to Record to MicroSD Card.
From here you can turn on local recording to your microSD Card. You can choose between Continuous and Events Only recording.

Tap into your camera’s live stream from the Home tab and tap the View Playback button.
Tap and drag the timeline to view recorded video from a specific point in time. You can tap the date button to select a specific date in the calendar view. The times where there is video footage available will be highlighted in color on the timeline.
Pinch and zoom on the timeline to make it easier to select a specific point in time.
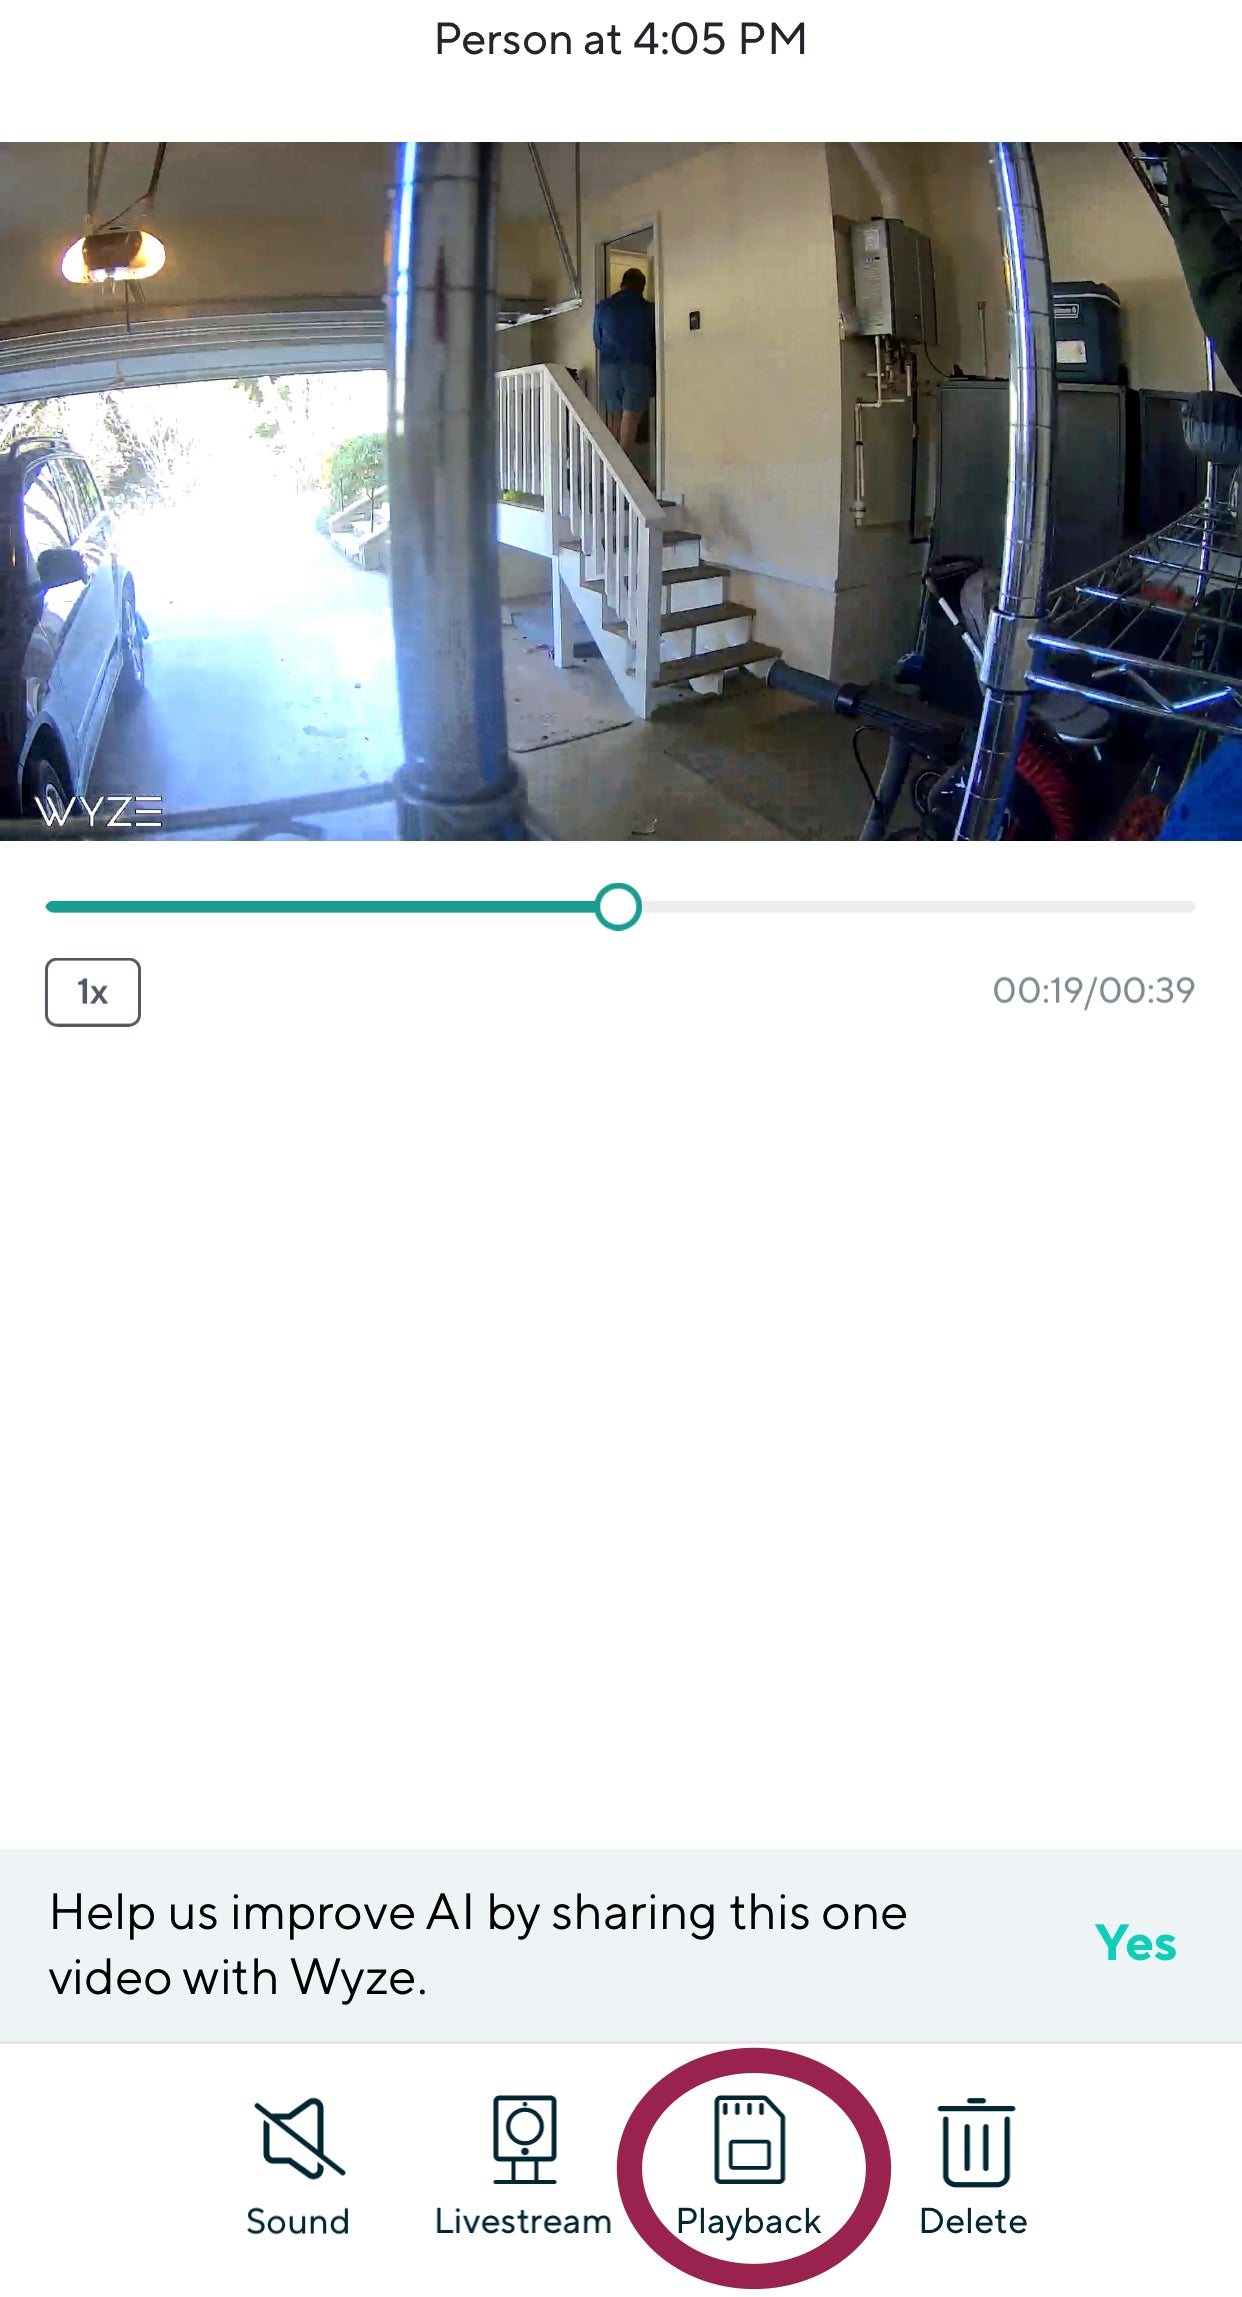
Tap on the Events tab in the Wyze app to select an event you’d like to view.
Once the Event is open, tap Playback to view the full recording from the microSD card.
If you have additional questions, please visit our support articles regarding our microSD cards or start a chat with our team.
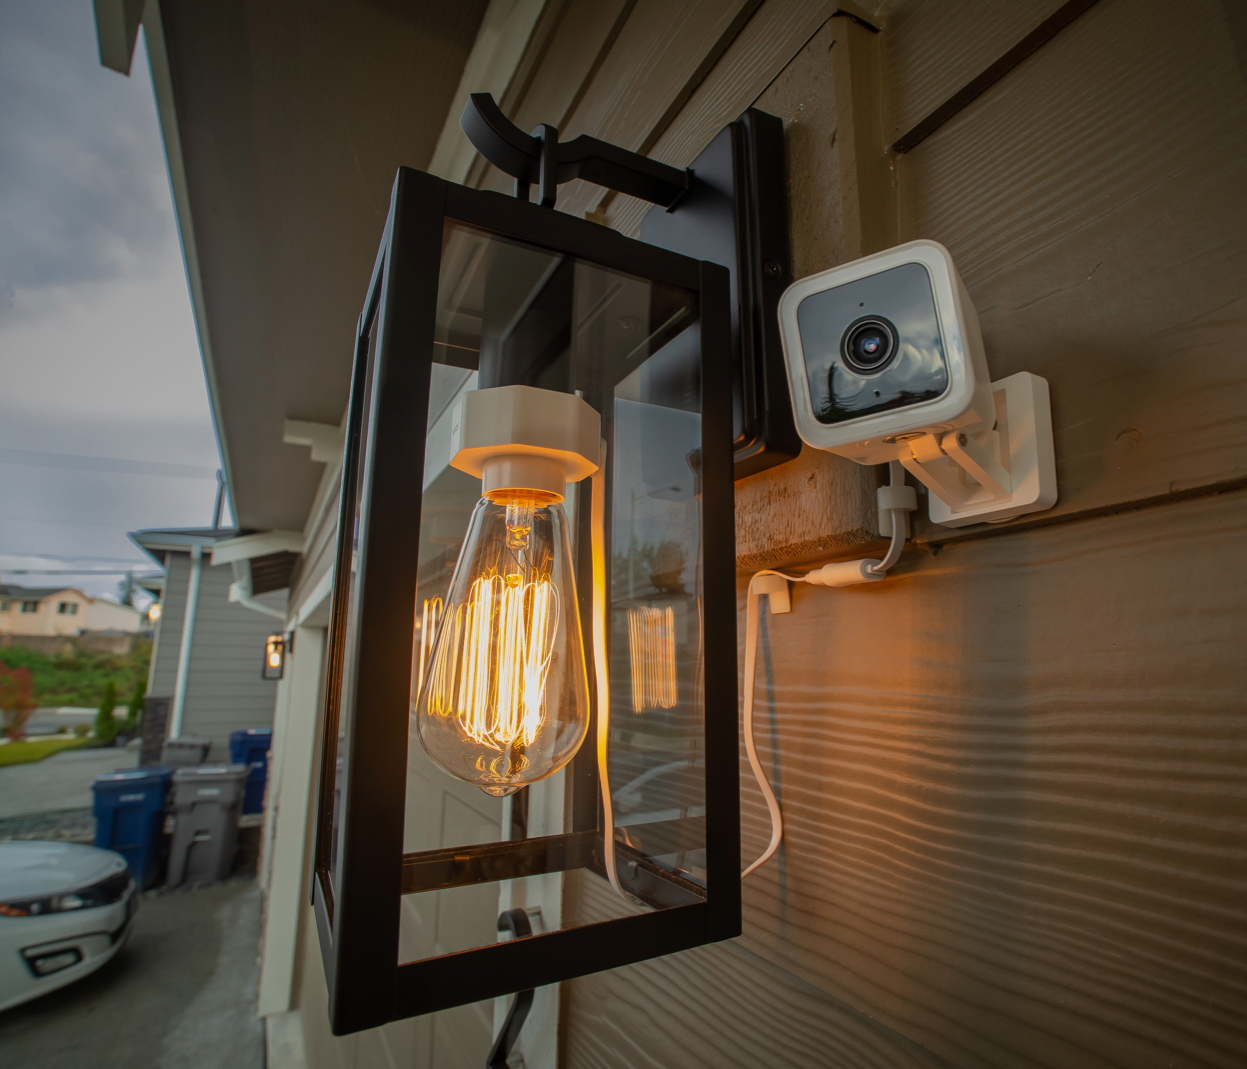
All Wyze Cameras have a built-in microSD slot and are compatible with Wyze microSD cards. The best part is local storage is completely free to Wyze users.
You can save Wyze video recordings in two ways. 1. You can use a compatible microSD card to enable continuous local storage. 2. You could sign up for Cam Plus (or Cam Protect) to enable advanced A.I. detection, better notifications, and cloud storage.
